
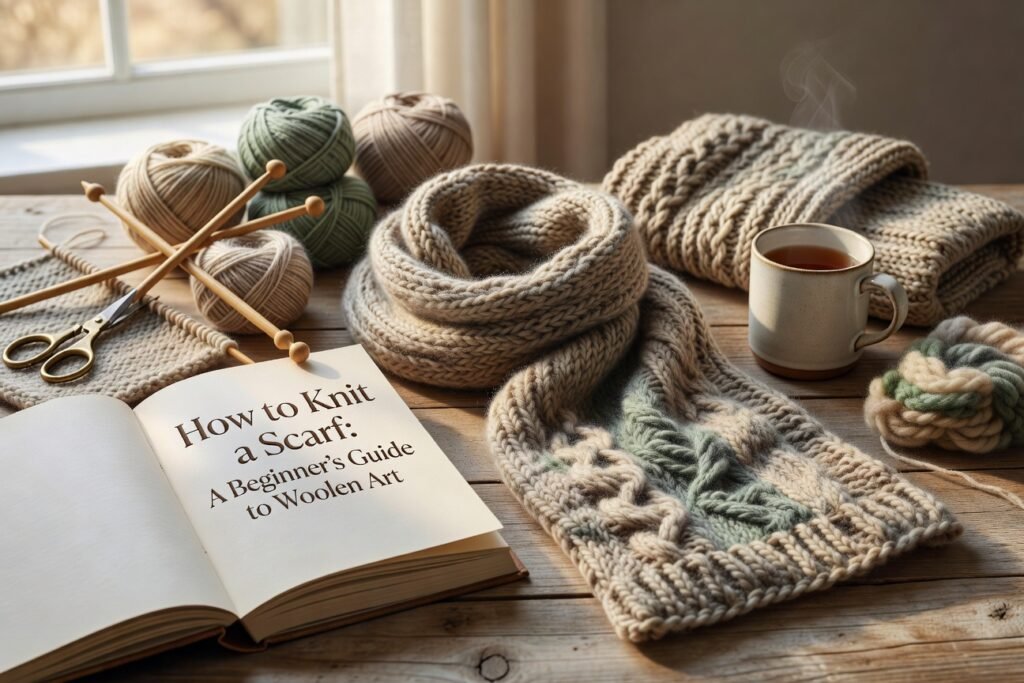
Knitting can seem daunting for beginners, but creating a beautiful scarf is a perfect way to dive into the world of woolen art. This guide will provide you with all the essential steps to knit a cozy scarf that not only keeps you warm but also boosts your confidence as a crafter. By the end, you will have a lovely scarf to wear or gift, showcasing your new skills!
Select a medium-weight wool yarn that feels comfortable to you. Pair it with knitting needles that are a good fit for your yarn thickness. A size 8 or 9 US needle is usually a safe choice. Pro Tip: Lighter colors are easier to work with as you can see your stitches clearly.
Start by making a slip knot and place it on one needle. Then, cast on 30 stitches (or as many as you need for your desired width). You can use the long tail cast-on method for a neat edge. Pro Tip: Keep your tension consistent for an even scarf.
Hold the needle with your cast-on stitches in your left hand. Insert the right needle into the first stitch from front to back, wrap the yarn around the right needle, and pull it through. Slip the old stitch off. Repeat until the end of the row. Pro Tip: Count your stitches as you go to avoid losing track.
Keep knitting every row until your scarf reaches the desired length (usually around 60-70 inches). Remember, this is a garter stitch scarf, so you’ll knit every row. Pro Tip: Use a stitch marker to keep track of your starting point if needed.
Once your scarf is long enough, it’s time to bind off. Knit the first two stitches, then use the left needle to lift the first stitch over the second and off the needle. Continue this until you have one stitch left, then cut the yarn and pull it through the last loop. Pro Tip: Ensure your bind-off is not too tight to maintain the scarf’s flexibility.
Using a tapestry needle, weave in the loose ends from your cast-on and bind-off. This will give your scarf a neat and polished finish. Pro Tip: Weave in ends securely to prevent them from unraveling later.
If you want to enhance the appearance of your scarf, consider blocking it. Wet it gently and lay it flat to dry, shaping it to your desired dimensions. Pro Tip: Use a measuring tape to ensure it maintains the correct size during drying.
The time it takes can vary based on your knitting speed and the length of the scarf, but typically, it can take anywhere from a few hours to a couple of days.
Medium-weight wool yarn is ideal for beginners as it is easy to work with and forgiving of mistakes.
Absolutely! Once you’re comfortable with the garter stitch, you can explore other patterns like ribbing or seed stitch.
Online platforms, YouTube, and knitting blogs are great resources for finding tutorials. You can also check out How to Seam Like a Pro with the Mattress Stitch for finishing techniques.
Congratulations! You now know how to knit a scarf, an essential skill in the world of woolen art. With practice, you will become more adept at knitting, and soon you’ll be ready to tackle more complex projects. Don’t forget to share your success with friends and family or even challenge yourself with more knitting patterns!